


It’s that time of year again when the roads start to ice over and cars have to be thawed out before you can even think about getting from point A to B. It’s permanently dark outside and trees are bare, except for the ones you’ll find inside homes, decked with baubles, lights, and all manner of beautiful things. Christmas is here - on your radio, TV screen, in your house and in the bustling streets and shops.
No doubt, you’ve sorted the tree and the decorations, the cards, presents and eating arrangements by this point. Now, it’s time to relax. Our guide comes with 12 days worth of muscle-relaxing massage gun techniques to help your body recover and unwind.
Jump to:
- How to use a massage gun
- Day 1: Shoulders
- Day 2: Biceps
- Day 3: Triceps
- Day 4: Chest
- Day 5: Upper Back
- Day 6: Lower Back
- Day 7: Glutes
- Day 8: Quadriceps
- Day 9: Hamstrings
- Day 10: Calves
- Day 11: Ankles
- Day 12: Feet
- Are massage guns relaxing?
- Can you use a massage gun every day?
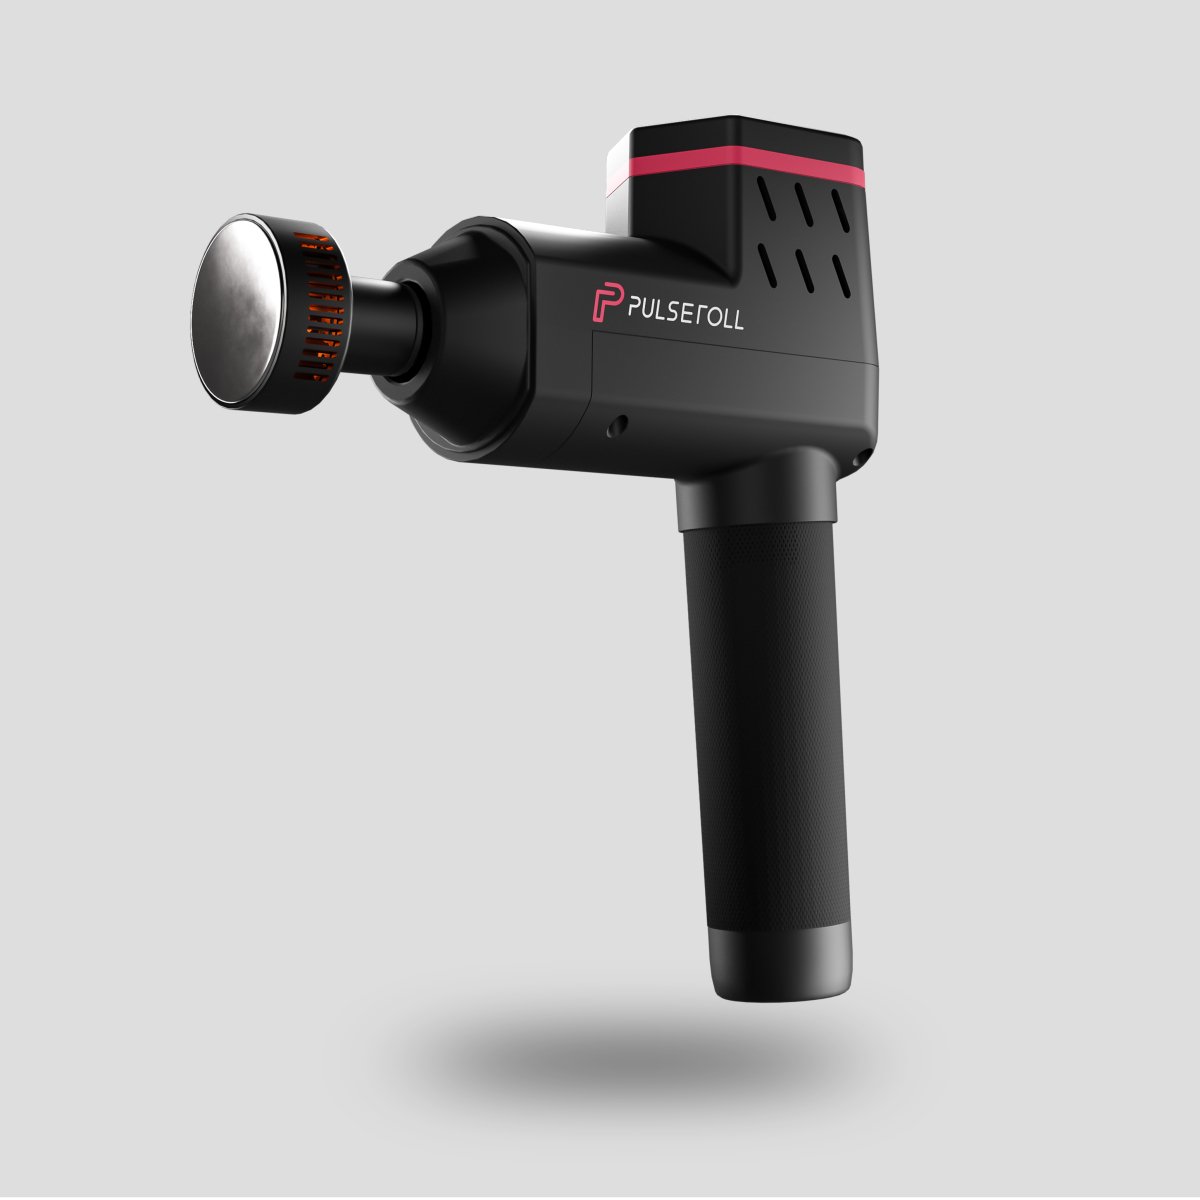
How to use a massage gun
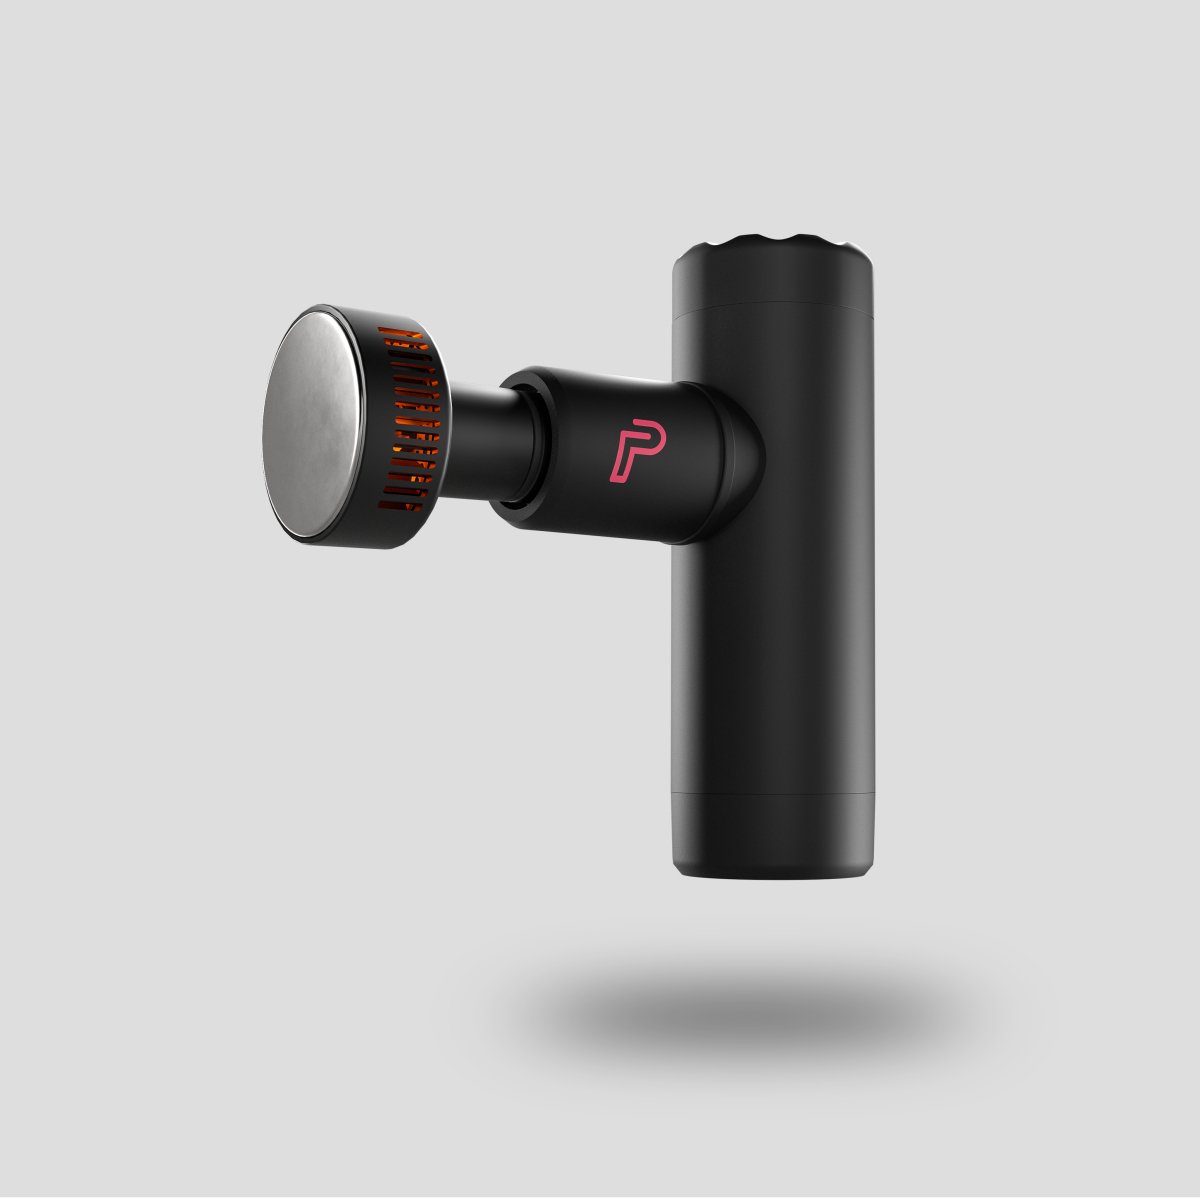
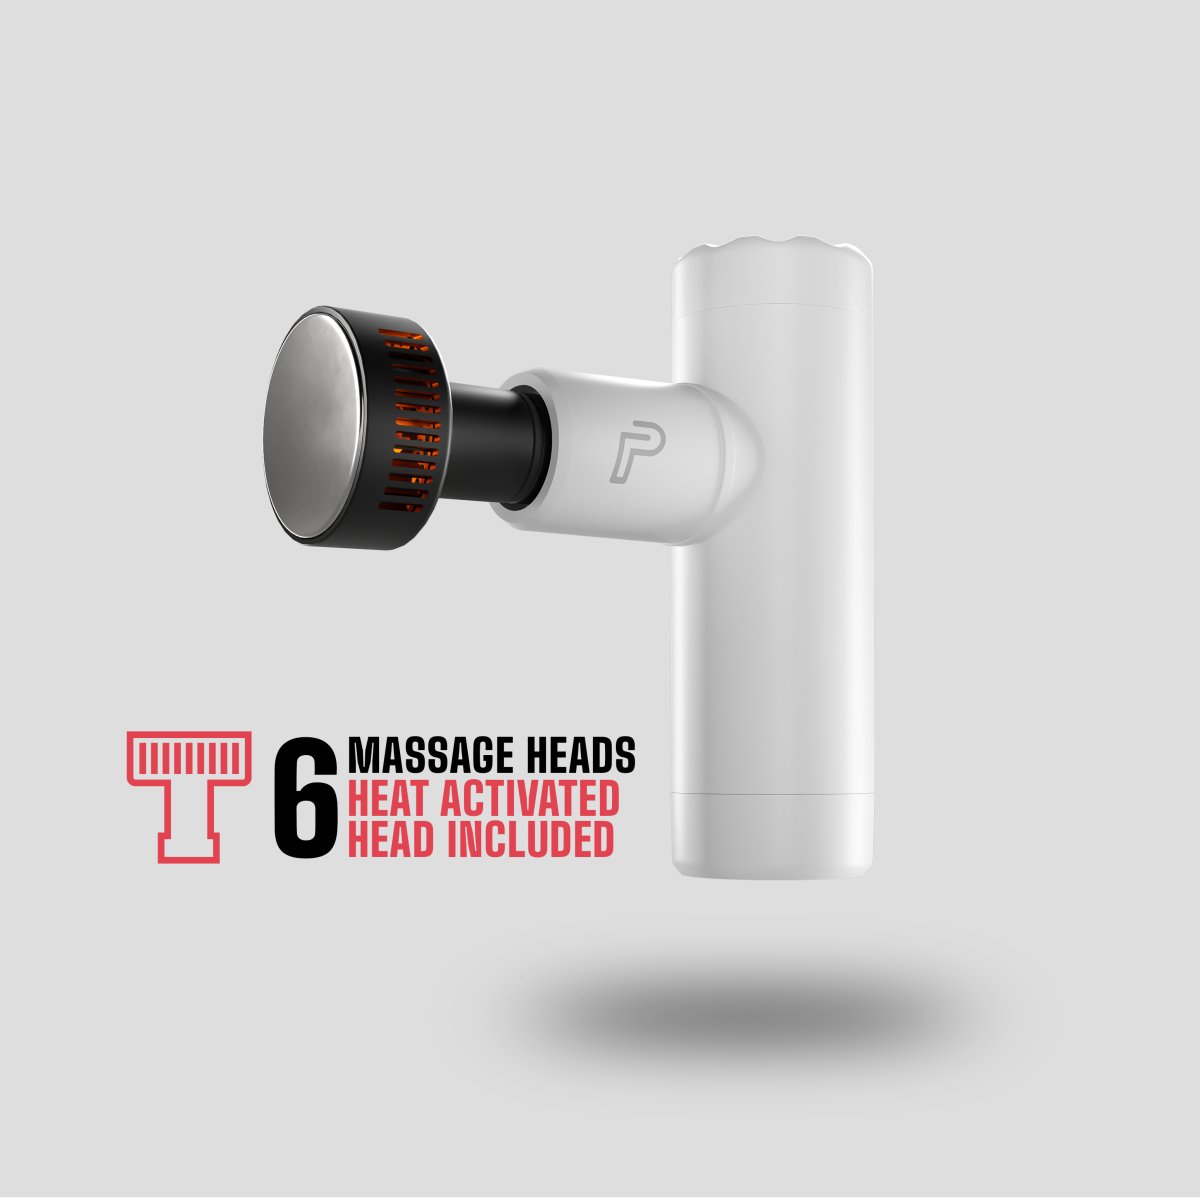
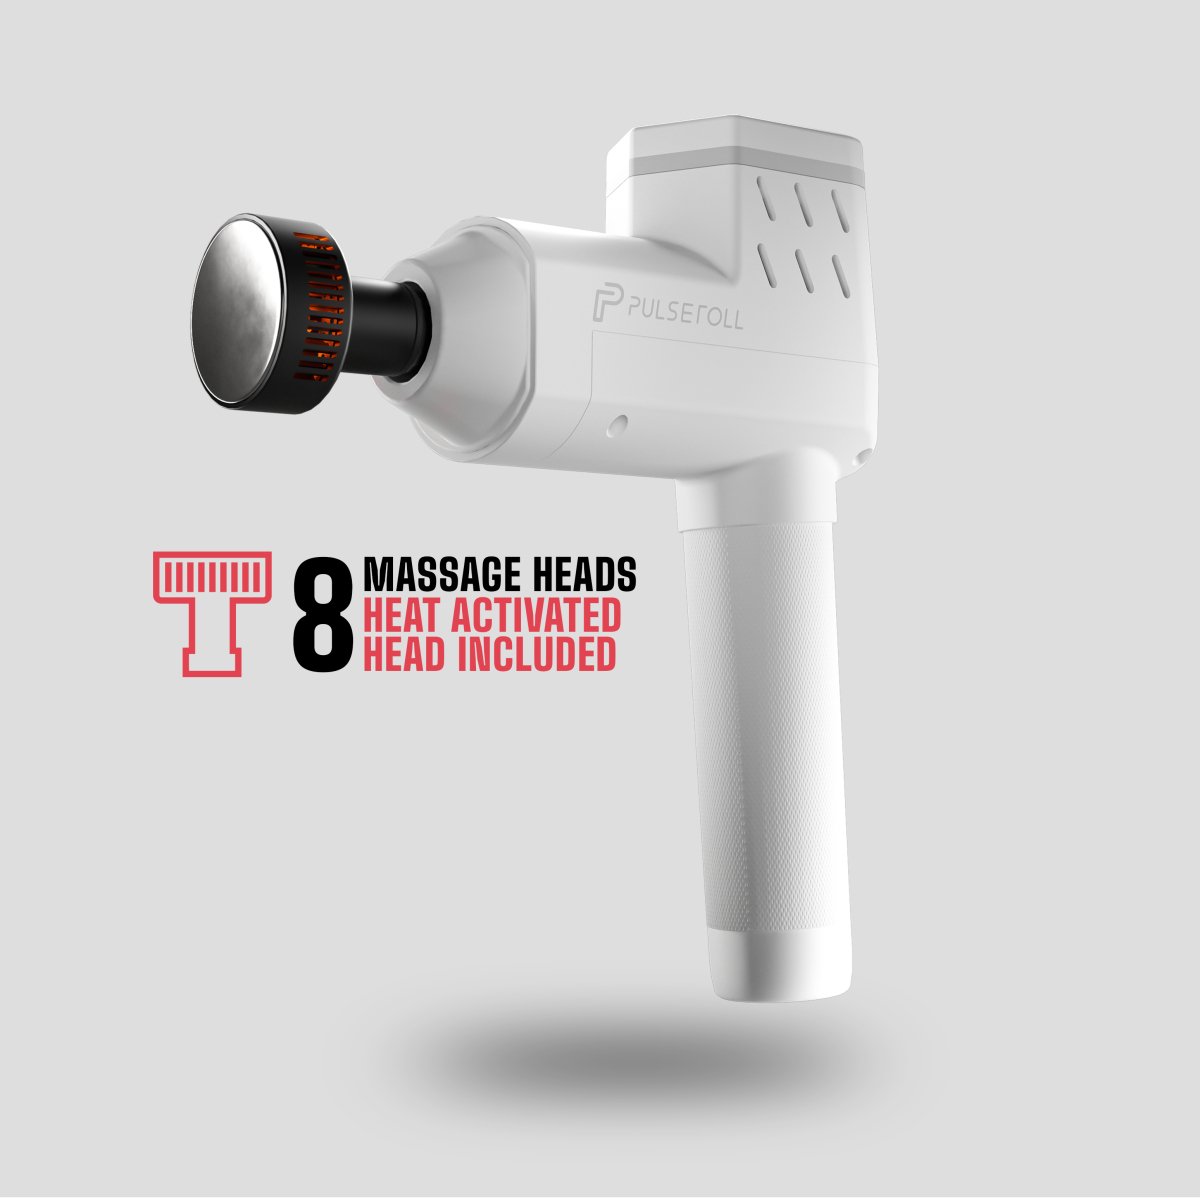
The first thing you’ll want to do is make sure you’re using the right attachment. A softer attachment is better for any painful areas, whereas a sturdier head is better for any areas where you need to apply stronger pressure.
Find out how here: How to use Massage Gun Head Attachments
You should massage the required muscle area for around 1 to 2 minutes, paying particular attention to any knots.
Tip: Turn on the massage gun prior to applying it to the desired area, and ensure you refrain from directly massaging your neck and joints.
Related article: How to use a Massage Gun for Muscle Recovery
Lastly, you should ensure that you’re not massaging over any bone, open wounds, bruises or directly over any injuries.
Day 1: Shoulders
- Apply the massage gun to your shoulders, focusing on the top.
- Make circular motions, moving the gun around the front- and back of your shoulders.
- Now move the massage gun around the base and side of your shoulders, up towards the side of your neck.
- Ensure you avoid your collar bone and don’t put pressure directly on your neck.
Day 2: Biceps
- Apply the massage gun to your shoulder.
- Move it down to the elbow, then back up to the shoulder again.
- Continue this for up to 2 minutes.
Day 3: Triceps
- Apply the massage gun near your armpit.
- Move it up and down from your armpit to your elbow.
- Continue this motion for up to 2 minutes.
Day 4: Chest
- Apply the massage gun to your chest.
- On both sides of the chest, cover the whole area using a circular motion.
- Make sure you go all the way to the armpit.
- If you’re a female, you should ensure you stick to the top of the chest muscle.

Day 5: Upper Back
For a general upper-back massage, we’d recommend the small round head. If you’re looking for a deep massage, we’d advise using the flat head.
- Apply the massage gun to your upper back.
- Using circular motions, focus the gun on the sides of your upper back.
Tip: You can use the spinal head to massage the length of your back, on either side of the spine, so long as you do not massage directly onto the bone.
Day 6: Lower Back
- Holding the gun upside down, apply it to each side of your lower back.
- Move the massage gun in circular motions around the area.
- Make sure you don’t massage your spine or tailbone.
Day 7: Glutes
- Adopt a standing position or lie down on your front.
- Apply the massage gun to your glutes and move it in a circular motion.
- Focus on one side before moving on to the next.
Day 8: Quadriceps
- Adopt a lying-down or seated position.
- Relax your thigh muscles and apply the massage gun to your quads.
- Move the gun in a circular motion.
- Pay attention to any trigger points
- Continue this for at least 2 minutes.

Day 9: Hamstrings
- Stand or lie down on your front.
- Relax your hamstrings and ensure they remain relaxed throughout the massage.
- Apply the massage gun to the back of your knee.
- Move the gun up to the bottom of your glute and then move it back downwards again.
- Continue this for 2 minutes and repeat on your other leg.
Day 10: Calves
- Adopt a seated or standing position.
- Apply the massage gun to your calf muscle, just above your ankle.
- Slowly move it up your muscle to just below the knee
- Move the massage gun slowly back down again.
Day 11: Ankles
- Rest the top of your foot against a slightly raised surface (about the depth of a standard book).
- Anchor your heel on the floor.
- Push your knee forward slightly.
- Move the massage gun gently around the muscles surrounding your ankle.
- Make sure you don’t go directly over your bone or press too hard in this area.
Day 12: Feet
- Adopt a seated position.
- Place your ankle over your opposite knee.
- Using the lowest speed setting, apply the massage gun to your heel.
- Gently move the gun up the sole of your foot all the way to your toes.
- Move it back downwards again.
- Continue this for 2 minutes and make sure to focus on your arches throughout the massage.
Are massage guns relaxing?
Massage guns can help to relax tight muscles, improve blood flow and flexibility, and ease sore muscles.
Can you use a massage gun every day?
You can use a massage gun every day. Just make sure you don’t over-massage each muscle area. You should only massage a muscle area once per day.
Conclusion
When you think about relaxing and recovering, it might bring to mind a good night’s sleep, some hot cocoa around a fire, calming music, a stroll in the park, a good book or a spa, but you should definitely consider massage gun therapy. We outlined 12 different massages to help you to wind down, but there are plenty more massage gun techniques you can try to relax your muscles, recover from exercise, improve range of motion and much more.
Find out more about muscle recovery and massage guns: